You know, the winter months always bring that crisp, clean feeling, right? That’s exactly what White Winter Nails with Snowflakes and Glitter capture.
It’s not just a trend; it’s a classic look that brings the perfect icy elegance to your fingertips.
My kids (and maybe your significant other!) are always talking about these winter nail designs, and honestly, the sheer versatility of white winter nail art is pretty surprising.
We’re going to dive into some unique twists on this favorite aesthetic, offering straightforward ideas you can actually follow without needing a cosmetology degree.
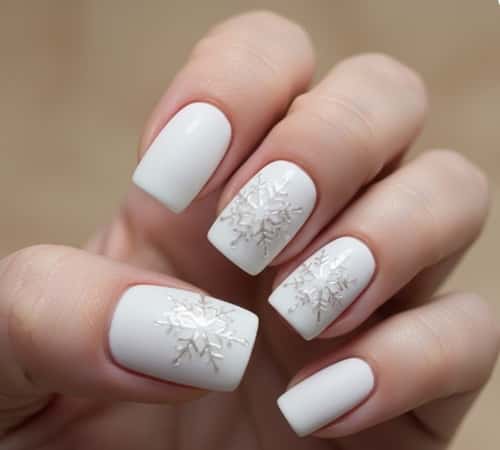
1. The Frosted Glass Base
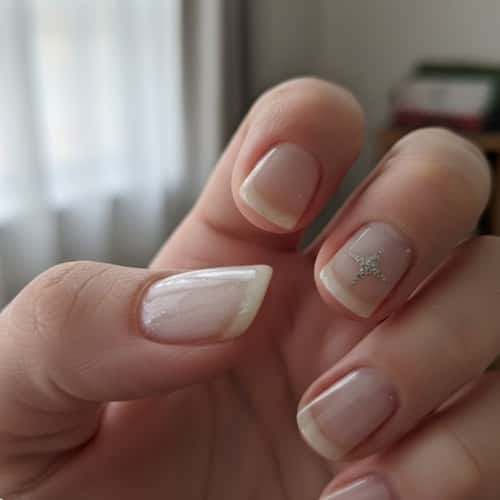
Forget just opaque white. Start with a sheer, milky white polish – think of it as slightly watered-down skim milk, not heavy cream.
This translucent base allows your natural nail color to show through just a touch, which adds a lot of depth.
Now, you’ll use a tiny, fine-tipped brush and a brilliant silver micro-glitter – not chunky stuff – to paint a single, delicate four-point star near the cuticle on two accent nails.
The key here is the subtler sparkle; it catches the light without screaming for attention.
2. Negative Space Blizzard

This design is all about contrast and letting the natural nail breathe. Apply a matte white polish only to the very tip, a classic French style, but make the line slightly thicker.
Now, using a dotting tool, place three or four random-sized, tiny dots of a holographic white polish on the clear, negative space area of the nail bed, mimicking tiny, distant snow grains.
It’s a minimalist take on a blizzard, keeping things clean and sophisticated; sometimes less really is more, you know?
3. Cable-Knit Texture Accent

Talk about adding dimension! Use a thick, slightly viscous bright white gel polish and, using a liner brush, paint a raised, overlapping braid pattern – like the pattern on your favorite winter sweater – on a single ring finger accent nail.
Cure this immediately to lock in the 3D effect. The rest of the nails should have a simple, glossy white finish.
You skip the snowflakes here and instead top the textured nail with a clear, iridescent flake topcoat that catches the light like fresh snow.
4. Chunky Silver Foil Frost
Here’s an approach that avoids the traditional snow crystal pattern altogether. Paint all nails with a clean, opaque white lacquer.
While the topcoat is still tacky, carefully press on small, irregular shards of chunky silver nail foil – these look like melting ice patches – concentrating them heavily near the nail tip and letting them scatter downward.
This technique gives you a vibrant, metallic shimmer that really elevates the standard white winter nail art.
5. Subtle Blue-Tinted Snowfall
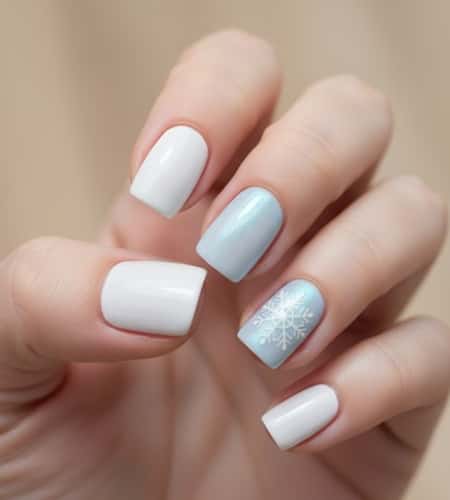
To make the white look even colder, try this cool trick. First, paint your base coat using a standard chalk white polish.
Next, mix a single drop of light, icy blue polish into a clear topcoat. Apply this tinted topcoat to all your nails.
Then, use a fine brush and the original chalk white to stencil one perfectly shaped, six-sided snow crystal onto the middle finger. The blue tint makes the white pop with a genuinely arctic feel.
6. Matte and Glossy Contrast Flakes
Texture is your friend, trust me. Apply a smooth, silky matte white polish over the entire nail surface.
Once this is completely dry, use a high-gloss clear topcoat and a detail brush to paint your miniature, traditional snowflakes onto the matte surface.
The sudden shift in light reflection between the matte background and the glossy design makes the snowflakes appear to be magically lifting off the nail.
It’s a simple technique that creates serious impact in this white winter nail art.
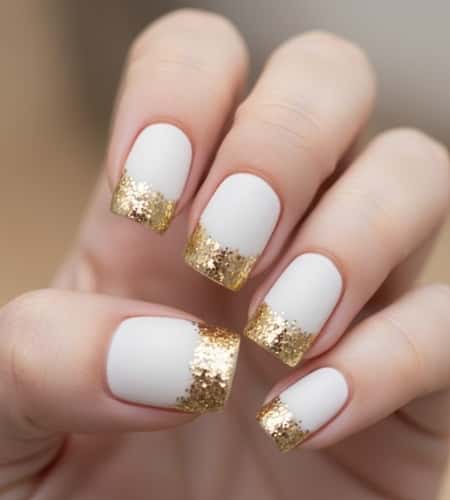
7. Gold Dust and Scattered Dots
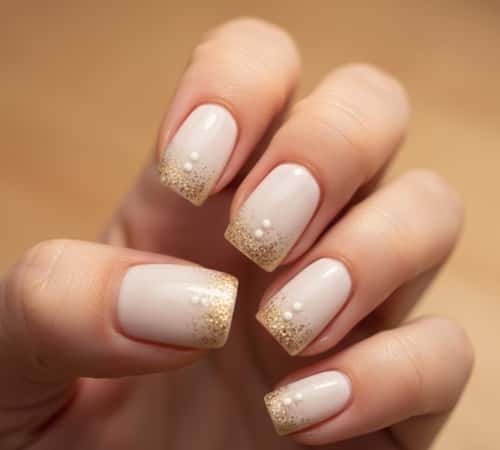
If silver feels too cold, pivot to warm gold! Start with a soft, off-white porcelain base.
Use a stiff, fan-shaped brush to lightly dust a fine gold glitter – it should look like a delicate dusting – over the top half of the nail.
Don’t worry about precision here, scattered is the look. Finish by using a dotting tool and the same off-white porcelain polish to place three or four random tiny snow dots toward the cuticle.
This achieves a cozy and luxurious vibe for your White Winter Nails with Snowflakes and Glitter.
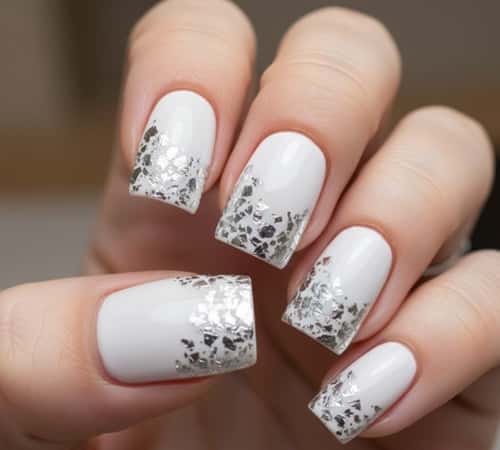
8. Glitter Fade (Ombre) Tips
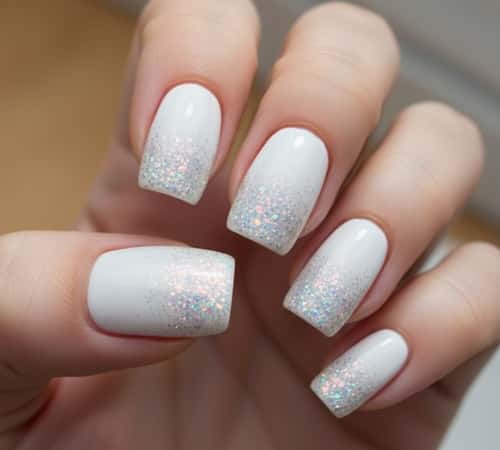
This one is fantastic for adding a ton of sparkle without it feeling heavy.
Paint your nails a full opaque snow white. While that’s drying, grab a makeup sponge and apply a thick coat of opalescent, silver-white glitter polish to the tip of the sponge.
Gently dab the glitter onto the top third of your nail, working your way down so the glitter gradually fades into the solid white.
This glitter gradient effect is a modern update to a classic, and you don’t even need a snowflake pattern to sell the winter theme.
9. Icy Cracked Glass Effect
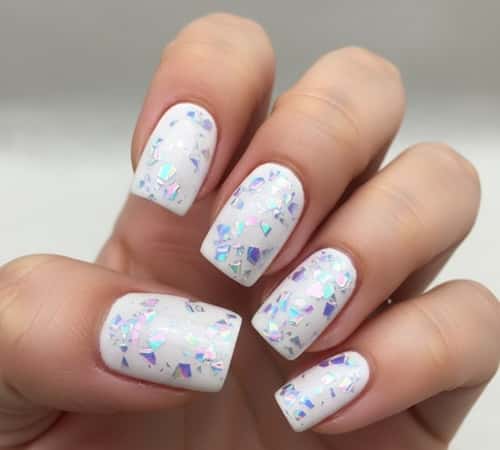
We’re skipping the snowflakes here and going for a textural look that screams ‘frozen lake.’
Apply your base of pure white gel polish. Next, use specially designed “cracked glass” cellophane paper – it looks like tiny, holographic ice shards – and press small pieces into the sticky layer of the cured gel. Seal it all with a robust topcoat.
The way that cellophane reflects light gives you an abstract, multi-colored sparkle that’s far more interesting than simple glitter.
10. Pearl Powder Sheen
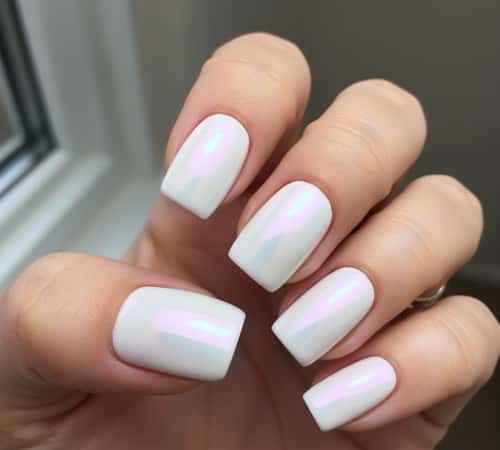
This is subtle, but trust me, it’s beautiful. After applying a crisp titanium white polish, cure it if you’re using gel.
Then, you’re going to rub a specialized pearl chrome powder – sometimes called ‘unicorn powder’ – onto the tacky surface using a silicone tool or a makeup sponge applicator.
This creates an ethereal, shimmering iridescent glaze over the white that changes color slightly under different light sources.
It’s a non-glitter shimmer that still captures the look of a frosty morning.
11. Half-Moon Sparkle Accent
Let’s play with placement. Apply a perfect coat of a solid off-white creme polish.
Instead of putting glitter or snowflakes all over, just focus on the base of the nail, the lunula or ‘half-moon’ area.
Use a thin brush and paint the half-moon shape with a chunky gold glitter polish, keep the rest of the nail entirely clean and matte.
This reverse French manicure style is very contemporary and adds a focused pop of glitz to your White Winter Nail Art.
12. Staggered Snow Drifts

Instead of perfectly centered designs, let’s go organic. Use a pale, slightly grey-tinged white for the base.
Then, using a fine liner brush and an electric blue metallic polish, paint a series of two or three curved, staggered lines across the nail, mimicking natural snow drifts or windswept dunes.
The blue gives it that genuine winter chill effect. Finish the design by placing one or two tiny white six-sided flakes only within the blue lines.
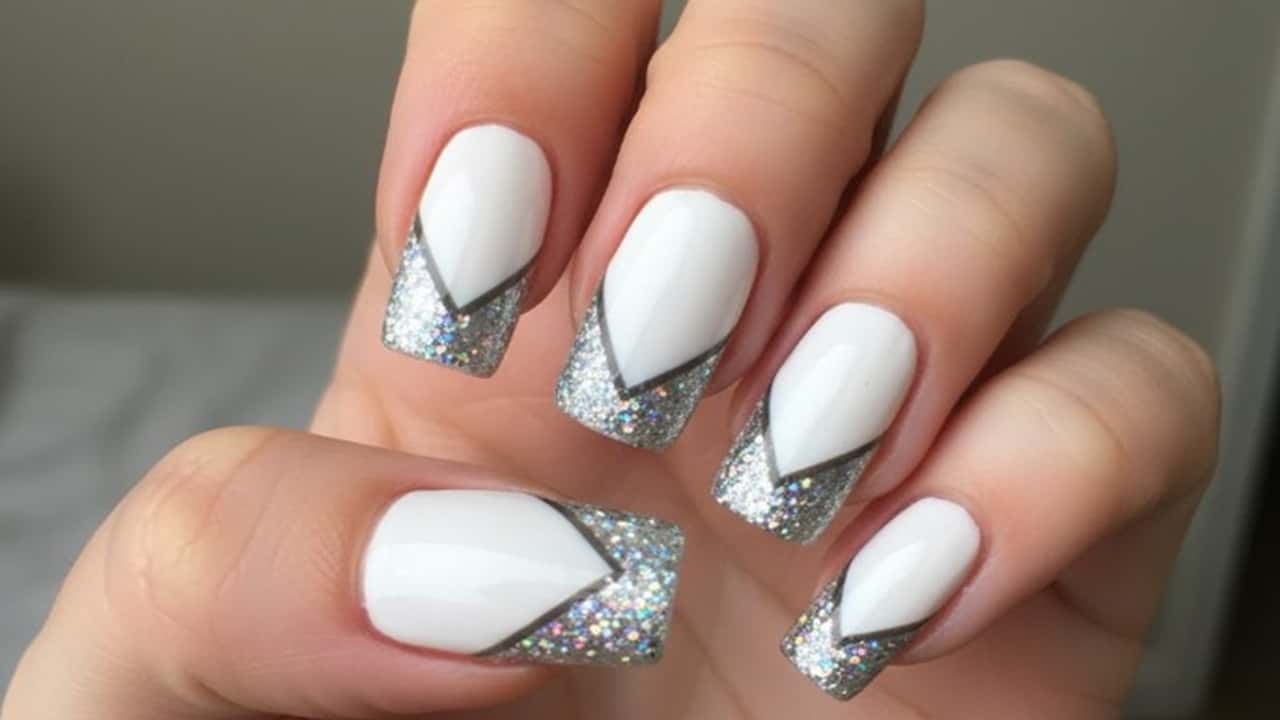
13. Glittered V-French Tip
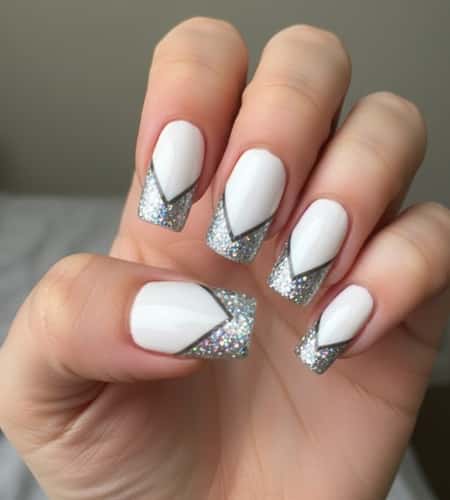
Give the classic tip a modern, sharp angle. Paint the entire nail with a smooth, bone white polish.
Instead of painting the tip horizontally, use tape or a steady hand to create a sharp ‘V’ shape pointing down the nail.
Fill this V-shaped tip only with a dense, holographic silver glitter instead of a solid color.
This angular, geometric approach to the tip adds a lot of visual interest and sparkle to your White Winter Nails with Snowflakes and Glitter without getting busy.
Final Thoughts
It’s easy to get overwhelmed by all the complex nail tutorials out there, but seriously, the real secret to standout White Winter Nail Art isn’t about complexity, it’s about texture and light play.
When you mix a matte white with a glossy detail, or swap out standard glitter for metallic foil or pearlescent powder, you move beyond the expected.
Think less about drawing the perfect snowflake and more about capturing the visual properties of ice and snow itself – the reflection, the opacity, and the way light refracts off a crystalline surface.
By focusing on these underlying aesthetic entities, you’re creating a look that has real depth and artistry, offering an icy finish that truly lasts the season.